


Food Photography: What goes into it?
Have you ever wondered how can a food item look so delicious and lively, that too in pictures? Food photographs in menus cards, advertisements, blogs, and magazines are the works of food photography. This profession is a good income generator in modern times.
Food photography is a way to earn money for everyone, from the restaurant/café to the photographer to blogger. To make the food look aesthetic is the job of both chef and photographer. Presentation, serving, and everything in between are part of food photography.
Though chefs cannot only make the food look good, they need to taste good as well. Whereas, photographers manipulate the look of the food by arranging it in a way that they appear tastier and more attractive. For that process, another element called camera settings and editing comes into play, where photographers enhance the raw pictures to look more vibrant.

Professional food photography
It depends upon the quality of food photography of how the restaurants, café, food truck, and even grocery stores would make their business. To promote the food business, you need good images that grab the attention of the viewers. When you succeed to grab one’s attention, you create a potential customer and increase sales. When the condition is the opposite, you may even have a great loss.
Without thinking much about the negative stuff, let’s talk about how to make your food photography look lively! We will be showing how the photographs are taken by the food bloggers, the camera settings required, and how to edit them to give them the final touch to make them shine!
There are four grounds you will need to give your attention to while trying to do food photography:
1. Plating– Yes, you also need to look after how the food is arranged, the things that should be surrounded by the plate, and a few other things.
2. Lighting– To bring out every detail of the food and its good side, lighting is very essential.
3. Composition– The angle and the frame of the camera also play an important role in the quality of the image.
4. Editing– Knows as the finishing touch to all the hard work you did in the above three steps!
RELATED ARTICLE: 7 Things to consider before you start a Podcast
Plating: The Arrangement plays a big role in Food Photography
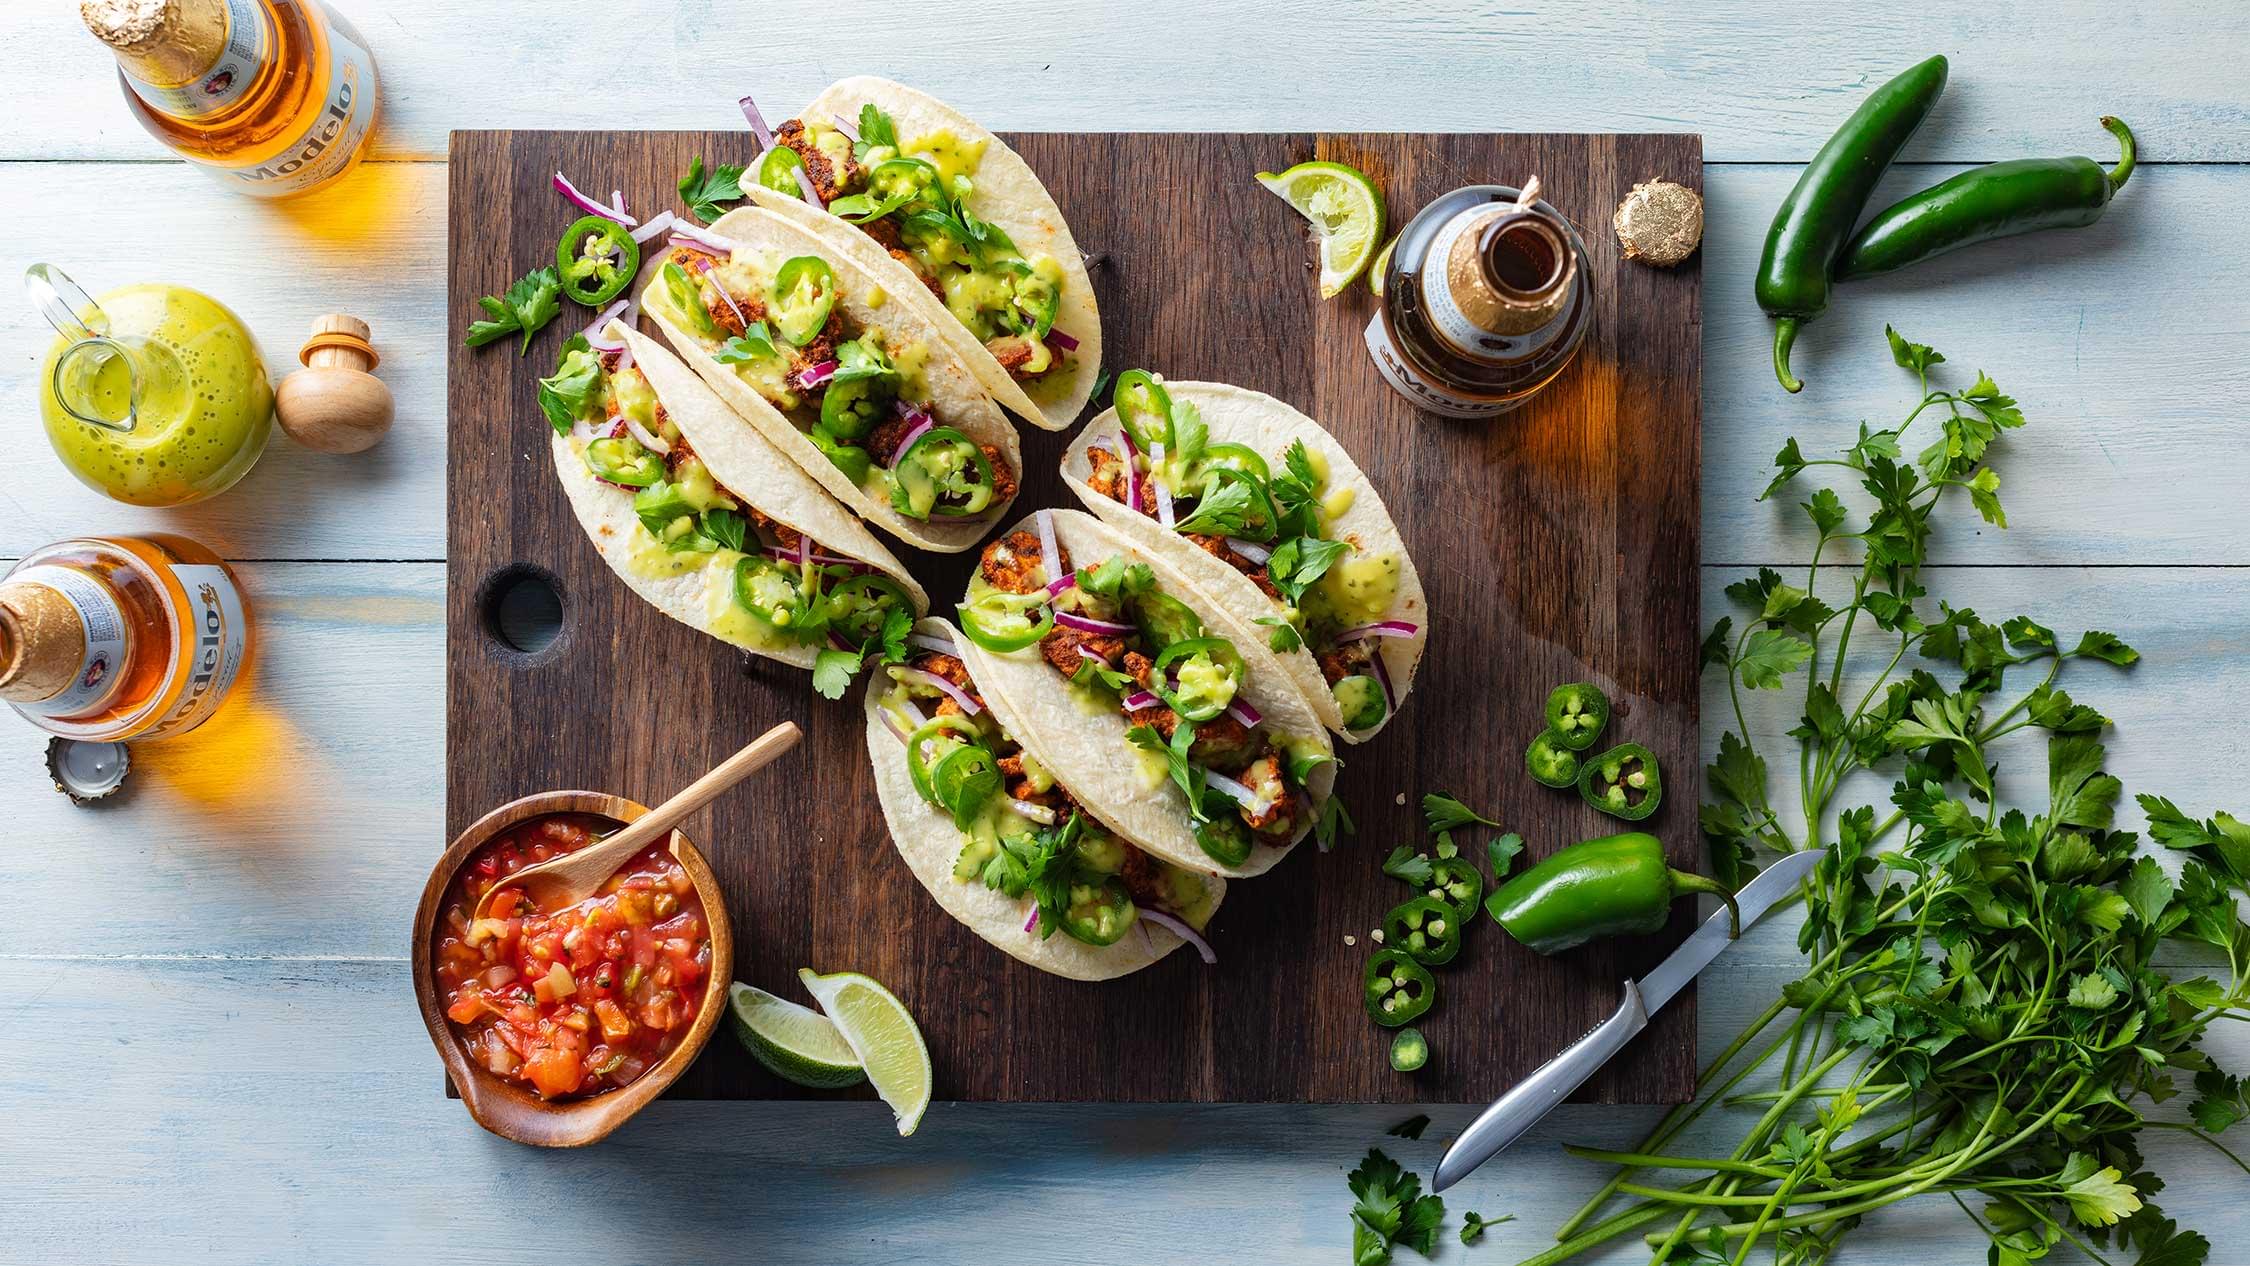
The aesthetic arrangement of food on a dish is known as plating in chef terms. When you go to a café, you see that they work a lot on how they present food to their customers. A survey says, the presentation of food also increases one’s will to eat it. In food photography, presentation is even more important than food serving. The food needs to look tastier and mouthwatering from the photograph alone.
The plate or tray on which you serve food should complement whatever you are serving in it. A white or wooden plate goes with almost everything without losing vibrancy.
Also, look if you can establish a pattern or symmetry while plating. Symmetry is always pleasing to the eye and attractive to the brain, so it is a win-win.
You also need to take care of the background and the surroundings while setting up the rest of the things before you begin your shoot.
The plating technique

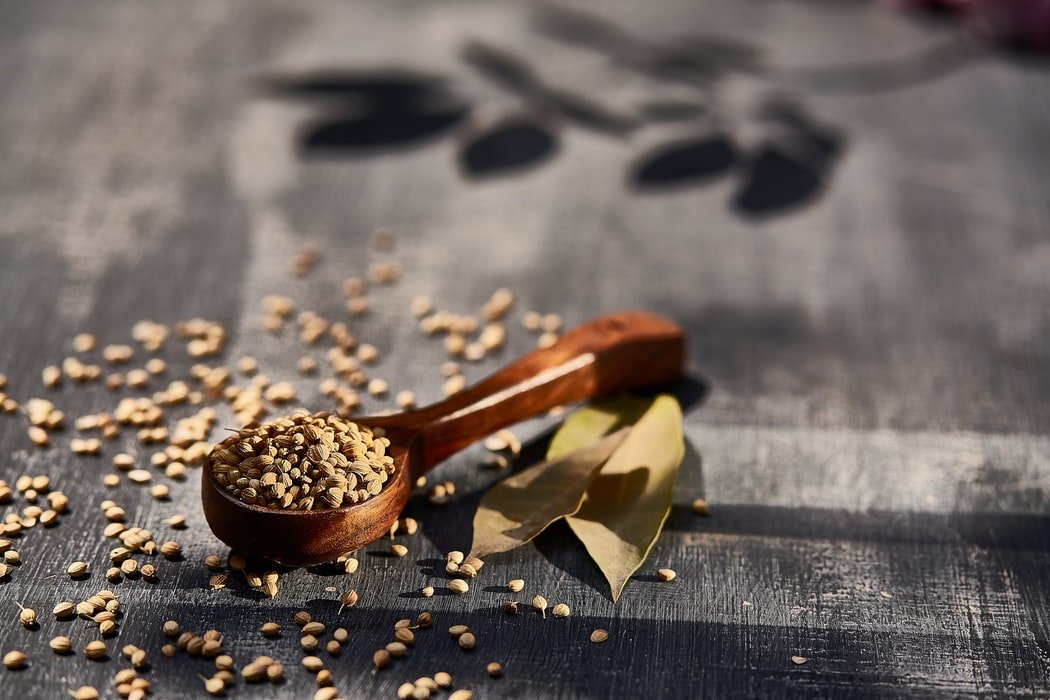
The background of the dish depends upon the food you are shooting. For example, you are shooting roasted chicken, you can spread out the spices and garnishing leaves and herbs around the frame. But if you are photographing some juice, you need to focus more on the pattern of the juice and how pleasing it is for the throat, as well as your eyes. You can make use of sauces and vegetables, and everything that you may think will contribute to the aesthetics of the frame.
Another important thing, just like the BG, is the surface you are shooting the food. The first point is to not make the surface more vibrant than the food itself. You need the surface to look rusty or matching with the food aesthetics. If you are clicking a bread loaf, it would be better if you use a wooden surface or something related to bread.
Lighting: The life of Food Photography
Lighting is very important to give your food a life-like look. No, they will not look alive but lively.
The basic thing you can do to achieve a lively look is to use natural light whenever possible. Using artificial lights may take away the true colors of the food by its hue. Whether it is dim or bright, it always creates wonders in the quality of the photograph. Set the dish near a large window, balcony, or anywhere where you can get good light. Even dim light creates a dramatic look to the dish if you require it. But if natural light is not available, you need to take care of the adjustments of the lights, diffusion, and shadow textures.
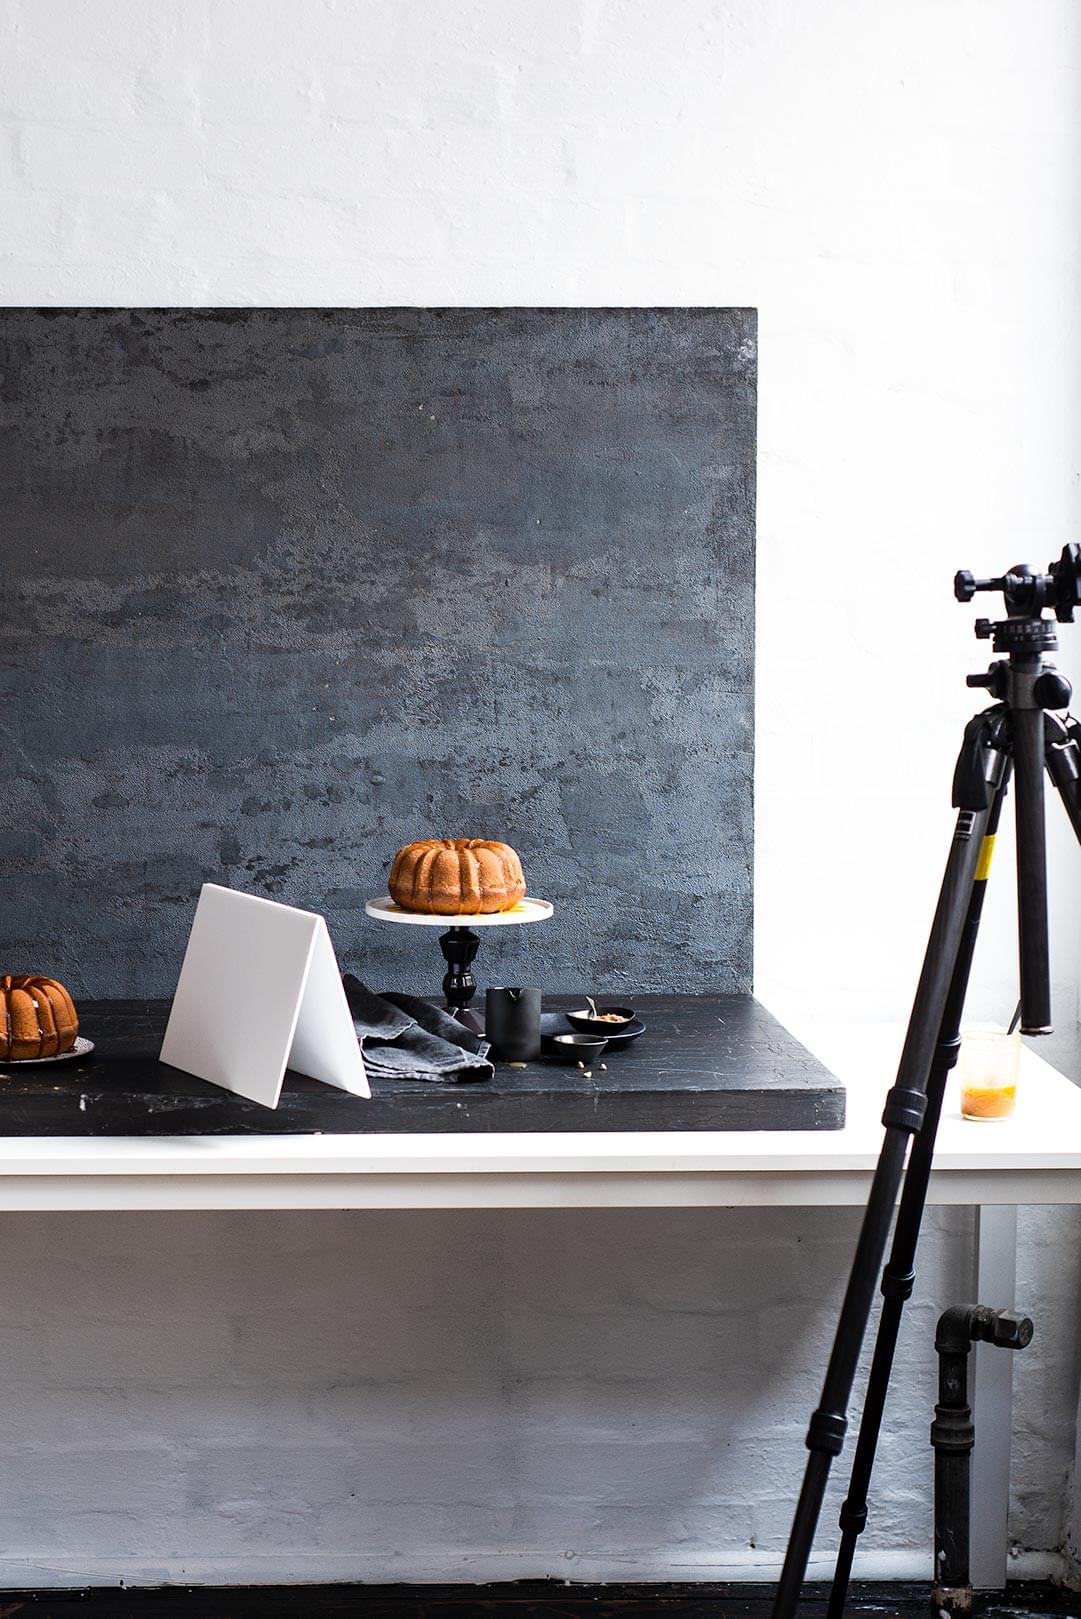
When using artificial lights, remember to focus on the important parts of the food. If you are shooting a burger, remember to focus on the veggies and cheese rather than the bun. Also, see if those lights are not creating any hard shadows. Those make the food visibly unappetizing. To avoid that, adjust the light angle or use a diffuser that will help to distribute light evenly.
RELATED ARTICLE: Successful Corporate Film – A 2022 Guide To Video Marketing
Composition: The Vision of Food Photography
It comes when you switch on your camera and start doing the clicking part! Composition refers to the angles, color combination, and the field of depth of the food. These are vital to make your food look interesting and not usual or boring. It should be in a way that makes the viewer look at it for a longer time.

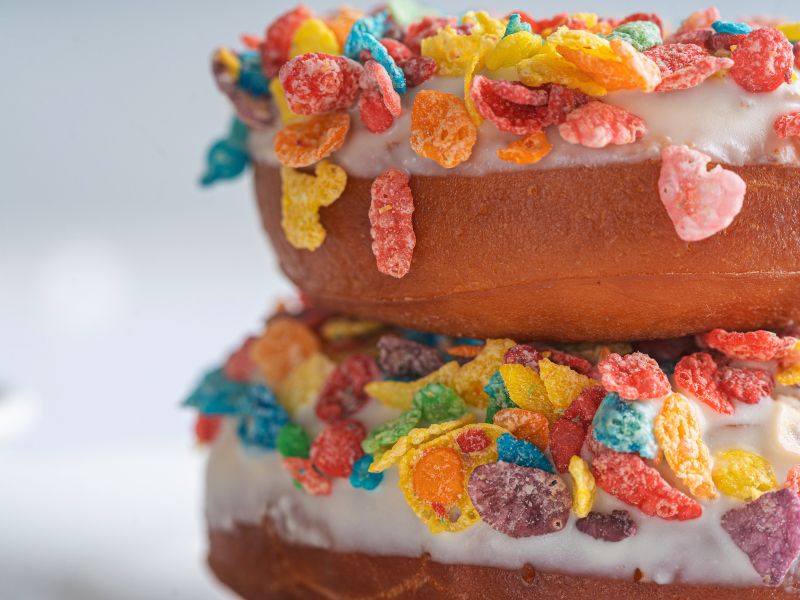
You will need to keep the photo saturated, and thus the color combinations of the props that you use to click pictures should be according to that. Warm colors are known to increase the appetite, and this could be a good hack for you too. Depth of field is crucial when requiring focusing on one part of the food and not distracting you from it.
Editing: The Touchup
After clicking the images with all the necessary steps, you need to touch up your images a little, to provide them with a professional look. The first step should be making your image sharp to define the aspects of the image.
After that, it is the white balancing where you will start seeing the magic of editing. Use a warmer tone to make the food look appetizing. And then adjust the brightness and contrast to provide more details to the image.
And the last part is saturating. It helps to define the intensity of the color as you increase it. It brings out the color of your food and makes it look more mouth-watering.
These are the things that will help you take your food photography skills to the next level. Other than these technical skills, you need to use your creativity for making food photography more fun to look at. Keep experimenting with props, food plating, angles, and anything you want.
However, we would recommend you to seek professional help to get the best results.
If you are thinking of building your empire, contact us- Realm Studios. We love to build films.


